Creating a video from your photos is a fantastic way to bring memories to life, tell a story, or even create engaging content for social media. It might sound complicated, but it's actually quite easy, even if you have no prior video editing experience. This guide will walk you through everything you need to know about how to make a video with pictures and music, step-by-step.

In This Article
01 What You'll Need to Get Started
Before you dive in, let's gather the essentials. You won't need much, which is part of the beauty of this process!
01 Gather Your Pictures
The first and most important step is to collect the photos you want to include in your video.
- Organize: Create a dedicated folder on your computer or phone for all the images you plan to use. This will make it much easier to find them later.
- Select the Best: Choose high-quality images that are clear and visually appealing. Think about the story you want to tell and select photos that fit that narrative.
- Story Flow: Consider the order of your photos. A chronological order often works well for memories, while other stories might benefit from a different arrangement.
02 Choose Your Video Editing Tool
Next, you'll need to select a tool to put your video together. There are many options available, ranging from simple online platforms to more advanced software. Here's a breakdown of common types:
Option 1: Online Video Makers (Web-Based)
These are user-friendly platforms that work directly in your web browser. They are often perfect for beginners.
Examples: Canva, InVideo, Animoto, Kapwing.
Pros
- Easy to use, often free or offer free versions, no need to download software, quick results.
Cons
- Free versions may have limitations (watermarks, fewer features), require a stable internet connection.
Option 2: Desktop Video Editing Software
For more control and advanced features, desktop software is a great choice.
Examples: Filmora, Adobe Premiere Pro, iMovie (Mac - often free), DaVinci Resolve (free and paid versions).
Pros
- More powerful features, offline editing, greater creative control, often better suited for longer or more complex videos.
Cons
- Can be more complex to learn initially, often require a paid license, need to be installed on your computer.
Option 3: Mobile Apps
If you want to create video with images directly from your phone, mobile apps are incredibly convenient.
Examples: InShot, CapCut, Quik, Splice.
Pros
- Edit on the go, easy to share directly to social media, often simple and intuitive interfaces.
Cons
- May have fewer features compared to desktop software, editing on a smaller screen can be less precise.
Choosing the right tool depends on your needs and comfort level. For simple projects, online makers or mobile apps are excellent. For more advanced editing, desktop software offers greater capabilities.
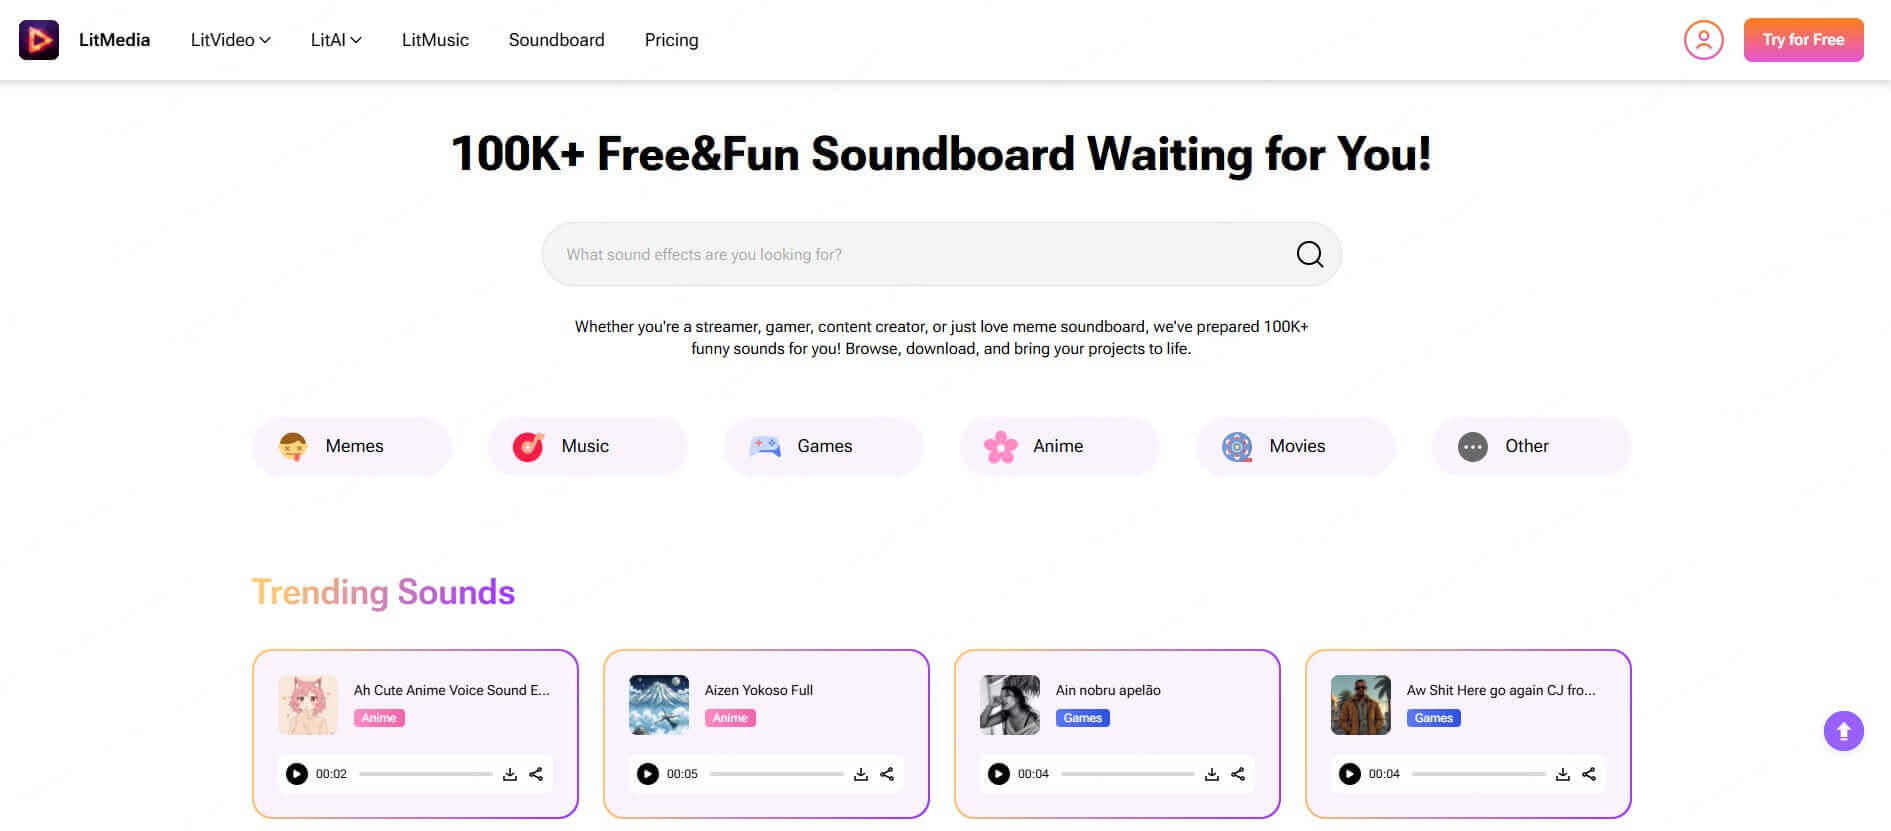
03 Prepare Music and Sound Effects
Music can dramatically enhance the emotional impact of your video. While optional, adding music is highly recommended, especially if you are making a video with pictures and music.
- Music Choice: Select music that matches the mood and theme of your video. Upbeat music for happy memories, calmer tunes for reflective moments.
- Royalty-Free Options: If you plan to share your video online (especially on platforms like YouTube), using royalty-free music is crucial to avoid copyright issues. Many video editing tools offer built-in libraries, or you can find music on sites like YouTube Audio Library, Epidemic Sound, or Artlist.
- Sound Effects: Consider adding subtle sound effects to enhance certain moments, but use them sparingly.

02 Step-by-Step: How to Make a Video with Pictures and Music
Now, let's get into the step-by-step process of turning your photos into a video. These steps are generally applicable to most video editing tools, though the exact interface might vary slightly.
Step 1: Choose Your Video Editing Platform and Create a Project
- Open your chosen video editing tool (online, desktop, or mobile app).
- Sign up or log in if required.
- Start a new project. You'll often see options like "Create New Video" or a "+" button.
- Select the aspect ratio for your video.
16:9 (Widescreen): Ideal for YouTube and general viewing on computers and TVs.
1:1 (Square): Common for Instagram posts.
9:16 (Vertical): Best for TikTok, Instagram Stories, and mobile viewing.
Step 2: Import Your Pictures
- Locate the "Import," "Media," or "Add Media" button within your video editor.
- Navigate to the folder where you saved your pictures.
- Select all the photos you want to use and import them into the project.
Step 3: Arrange the Pictures on the Timeline/Storyline
- You'll see a timeline or storyline area in your editor. This is where you arrange your video elements.
- Drag and drop your imported pictures from the media library onto the timeline in the order you want them to appear.
- Adjust the duration of each picture. This controls how long each photo stays on screen. You can usually drag the edges of a picture on the timeline to lengthen or shorten its duration. A duration of 2-5 seconds per photo is a good starting point, but adjust based on your video's pace.
Step 4: Add Transitions Between Pictures
Transitions are visual effects that smooth out the jump between photos and make your video flow more naturally.
- Find the "Transitions" section in your editor.
- Drag and drop transitions between your pictures on the timeline.
- Simple Transitions are Best for Beginners:
Fade: One picture fades out while the next fades in.
Cross Dissolve: One picture gradually blends into the next.
Cut (No Transition): An instant switch between pictures (use sparingly for a less smooth effect). - Avoid overly fancy or distracting transitions, especially when starting out. Simple is often more effective.
Step 5: Add Music or Audio (Optional but Recommended)
- Import your chosen music track into the video editor, just like you imported your pictures.
- Drag the music file onto the audio track of the timeline (usually located below the video track).
- Adjust the music volume so it complements your video and doesn't overpower it. You typically want the music to be background music, not the main focus.
- You can trim the music track to fit the length of your video by dragging its edges on the timeline.
Step 6: Add Text and Captions (Optional)
Text can add context, titles, dates, or captions to your video.
- Locate the "Text" or "Titles" section in your editor.
- Choose a text style and add a text box to your video timeline.
- Type in your desired text.
- Customize the font, size, color, and position of the text.
- Use text sparingly and make sure it is easy to read against the background.
Step 7: Preview and Edit Your Video
This is a crucial step! Watch your entire video preview to make sure everything looks and sounds right.
- Click the "Play" button in your video editor to watch the preview.
- Check for:
Pacing: Does the timing of the pictures feel right? Are they on screen long enough?
Transitions: Are the transitions smooth and effective?
Audio Levels: Is the music volume balanced with the video?
Text: Is the text readable and error-free? - Go back and make any necessary adjustments. Don't be afraid to re-edit sections until you are happy with the result.
Step 8: Export and Save Your Video
Once you are satisfied with your video, it's time to export and save it in a video file format.
- Look for the "Export," "Save," "Share," or "Publish" button.
- Choose your desired video settings.
Resolution: 1080p (Full HD) is a good standard for quality, 720p (HD) is also acceptable and results in smaller file sizes.
File Format: MP4 is a widely compatible and recommended format for web and social media. - Select a location to save your video file on your computer or device.
- Click "Export" or "Save" to render your video. This process may take a few minutes depending on the video length and your computer's processing power.
- Important: Save your project file within your video editor as well. This allows you to go back and make further edits to your video in the future if needed.
03 Bonus Tip: How to Make Video From Photos [AI Solution✨]
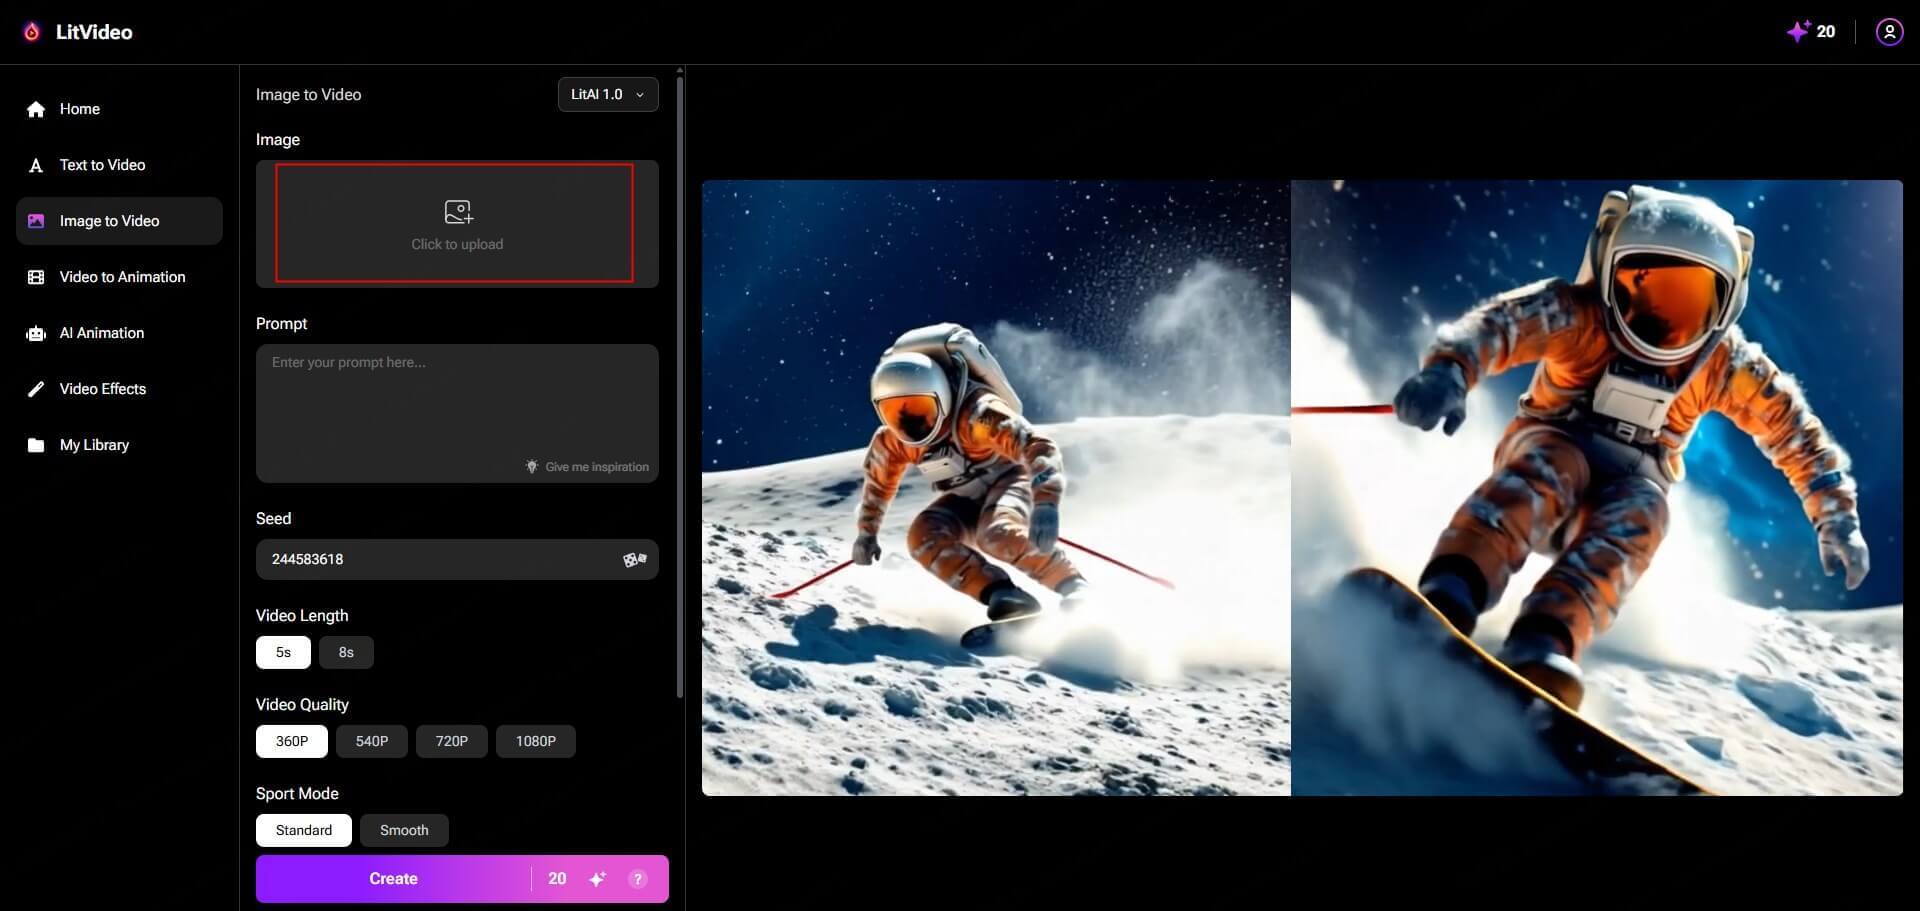
Want an even faster and easier way to create video with images? AI-powered video tools are revolutionizing video creation! For example, LitVideo offers an amazing "Image to Video" feature, which allows you to make a video with pictures, or just make one image into a moving video.
LitVideo simplifies the process of turning static images into dynamic videos. First, you need navigate to LitVideo's website and either log in or sign up for an account. Look for the "Image to Video" tool within the platform. And then, follow the steps below to use it:
Click on the upload area and select the image you want to use for your video from your computer or phone.

Enter a text prompt describing your desired video animation. Optionally, customize parameters such as video style, length, and quality to further refine the video output.
Initiate the AI-powered video generation process by clicking the 'Create' button. Let LitVideo's AI work its magic to transform your image into a captivating video.
Once you are happy with the AI-generated video, click the "Download" button to save your video. You can then share your video on social media or use it for your desired purpose.
04 More Questions About Making A Video with Pictures
Let's address some common questions you might have about making a video with pictures.
01 How to make a video in a phone?
As mentioned earlier, mobile apps are perfect for creating videos directly on your phone. Apps like InShot, CapCut, Quik, and many others offer intuitive interfaces for importing photos, adding music, transitions, text, and exporting your video. Simply download an app from your app store and follow its guided steps, which are often very similar to the steps outlined in this guide.
02 How to make a video with pictures on TikTok?
TikTok itself has built-in features to make music videos with pictures. When you create a new TikTok video, you can select the "Upload" option instead of recording live video. This allows you to choose photos from your phone's gallery. TikTok provides tools to:
- Arrange photos: Select and reorder your photos.
- Add music: Choose from TikTok's extensive music library or upload your own sound.
- Add text and effects: Use TikTok's filters, effects, and text tools to enhance your video.
- Set timing: Adjust the duration of each photo.
TikTok makes it incredibly easy to make music videos with pictures and share them directly with its massive audience.
03 Are there any tips for making video engaging?
Yes! Here are a few key tips to make your video more engaging:
- Tell a Story: Even a simple photo slideshow can tell a story. Think about the narrative you want to convey and arrange your photos accordingly.
- Choose the Right Music: Music sets the mood and emotion. Select music that complements your video's theme.
- Keep it Concise: People's attention spans are short online. Aim for a video length that's appropriate for the platform and your content. For social media, shorter is often better.
- Use High-Quality Pictures: Clear, well-composed photos are more visually appealing and engaging.
- Vary Visuals: While this guide focuses on pictures, consider adding short video clips if appropriate to add dynamism and visual interest (for more advanced projects).
- Call to Action (Optional): If you have a specific goal for your video (e.g., promoting something, driving traffic), include a clear call to action at the end (e.g., "Visit our website," "Follow us for more").
Conclusion
Making a video with pictures is a rewarding and accessible skill. Whether you want to preserve precious memories, create content for social media, or simply express your creativity, turning your photos into videos is a powerful way to do it. With the range of user-friendly tools available today, from online makers to mobile apps and AI-powered video generator like LitVideo, anyone can learn how to make a video with pictures and music. So, gather your photos, choose your tool, and start creating your own captivating video stories!


